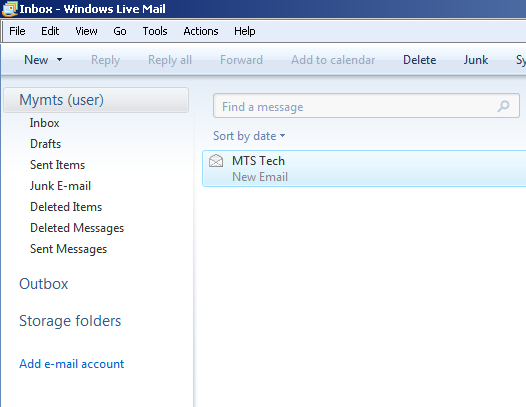
Windows Live Mail 2009 for Windows XP
-
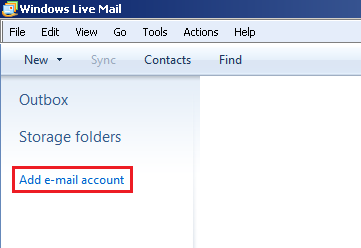
Open Windows Live Mail XP and click Add e-mail account to start the set up wizard.
-
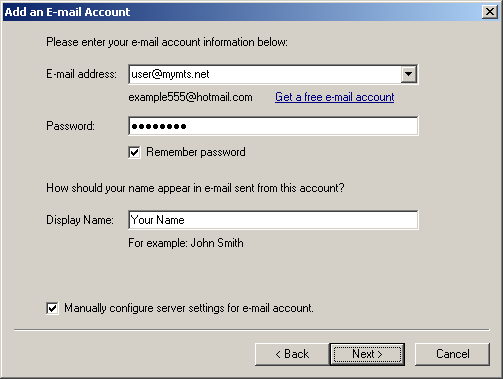
Enter:
- Email Address: Your Bell MTS email address or alias (e.g. @mymts.net, @mts.net, @mtsmail.ca) to be displayed on your outgoing emails.
- Password: Your email password.
- Display name: Name to be displayed on your outgoing emails.
- Make sure that the Manually configure server settings box is checked.
-
Click the Next button to continue setup.
-
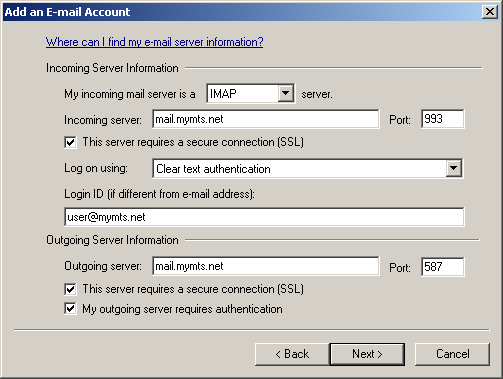
Enter:
- Under Incoming server information:
- Server Type: IMAP
- Server Address: mail.mymts.net
- Make sure that the Requires a secure connection (SSL) box is checked.
- Port: 993
- Authenticate using: Clear Text
- Logon user name: Your @mymts.net email address (e.g. username@mymts.net).
- Under Outgoing server information:
- Server Address: mail.mymts.net
- Ensure Requires a secure connection (SSL) is checked.
- Ensure Requires authentication is checked.
- Port: 587
- Server Address: mail.mymts.net
- Under Incoming server information:
-
Click the Next button to save the settings.
-
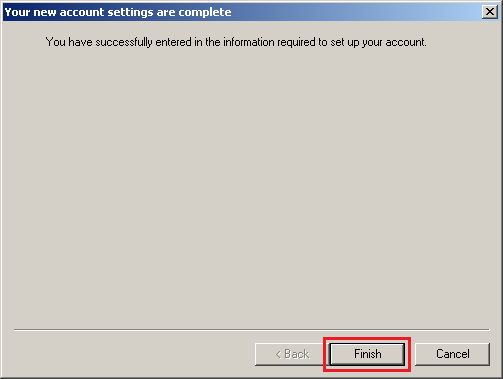
Click the Finish button to complete the setup wizard.
-
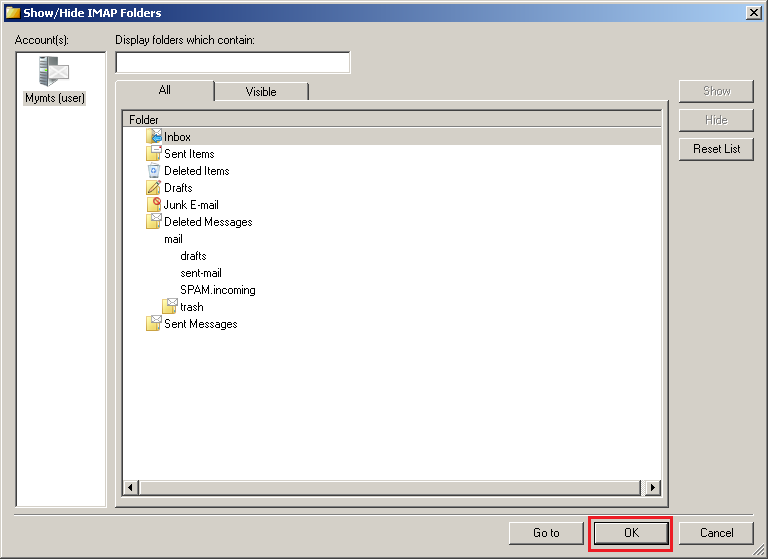
Click the OK button if you are asked to pick which folders to display.
Windows Live Mail XP will now download your emails.